
Effective AC Compressor Repair: DIY Tips and Tricks
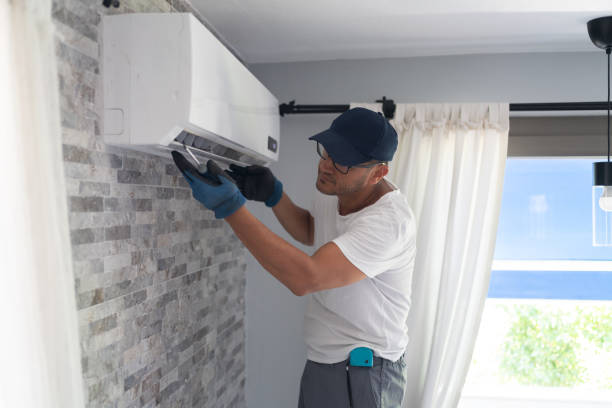
When your air conditioner stops blowing cold air on a hot day, the culprit is often a faulty compressor. AC compressor repair doesn’t always require expensive professional help—many issues can be fixed with basic tools and knowledge. The compressor motor serves as the heart of your AC unit, circulating refrigerant through the evaporator coils to create cold air. Understanding what a compressor is in HVAC helps you diagnose problems effectively.
This guide provides practical DIY tips and tricks for diagnosing and repairing common AC compressor issues, helping you save money while keeping your cooling system running efficiently. Whether you’re dealing with a bad AC compressor in your car’s AC or home air conditioning system, these actionable techniques will help you tackle repairs confidently and know when to call professional help.
Quick DIY Diagnostic Tricks for AC Compressor Issues
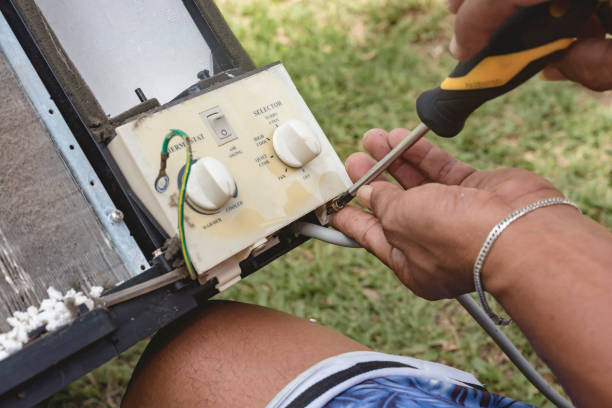
Before attempting AC compressor repair, you need to identify the major problem. Listen for warning sounds like grinding (worn motor bearings), clicking (electrical issues with the start capacitor), squealing (serpentine belt problems), or buzzing without starting (seized compressor motor). According to Family Handyman’s comprehensive AC repair guide, these audio cues are the first indicators of compressor failure.
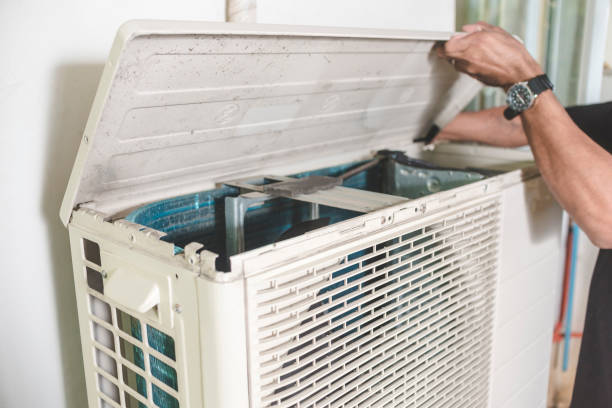
Visual inspection reveals additional clues: ice on evaporator coils signals low refrigerant or airflow restriction, frequent circuit breaker trips indicate electrical issues, oil stains around the compressor suggest refrigerant leak problems, and damaged serpentine belts prevent proper clutch engagement.
Connect a manifold gauge set to test system pressure—low pressure on both sides indicates low refrigerant levels, while high pressure suggests restricted airflow or expansion valve problems.
Essential Tools for DIY AC Compressor Repair
Having the right special tools makes AC compressor repair safer and more effective. According to This Old House’s AC maintenance guide, investing in quality diagnostic equipment prevents costly mistakes. The vacuum pump and refrigerant recovery machine are expensive ($200-$500+) but necessary if you plan regular AC system work. Otherwise, focus on diagnostic tools and let professionals handle refrigerant recovery to comply with EPA regulations.
| Tool | Purpose | Approximate Cost |
| Manifold Gauge Set | Measure refrigerant pressure | $50-$150 |
| Multimeter | Test electrical components | $20-$60 |
| Capacitor Tester | Check the start capacitor function | $25-$80 |
| Socket Set | Remove/install compressor components | $30-$100 |
| Refrigerant Leak Detector | Locate refrigerant leaks | $30-$200 |
| Hard Start Kit | Help struggling compressor motor | $20-$50 |
| Safety Goggles & Gloves | Personal protection | $15-$40 |
Top 5 DIY AC Compressor Repair Tricks That Save Money
These practical techniques solve common compressor issues without replacing the entire compressor or calling expensive professionals. Each trick addresses specific AC compressor issues that homeowners frequently encounter with their air conditioning systems.
Trick #1: Replace the Start Capacitor (Easiest Fix)
A faulty start capacitor is the most common cause of a “dead” AC compressor. This $15-30 part stores electrical energy to jump-start the compressor motor and fails every 3-5 years. Turn off power at the circuit breaker, locate the cylindrical capacitor near the compressor, discharge it with an insulated screwdriver, photograph wire connections, then swap the old capacitor for a new one matching the microfarad (µF) rating. This 20-minute repair restores many “broken” air conditioning systems without professional labor costs.
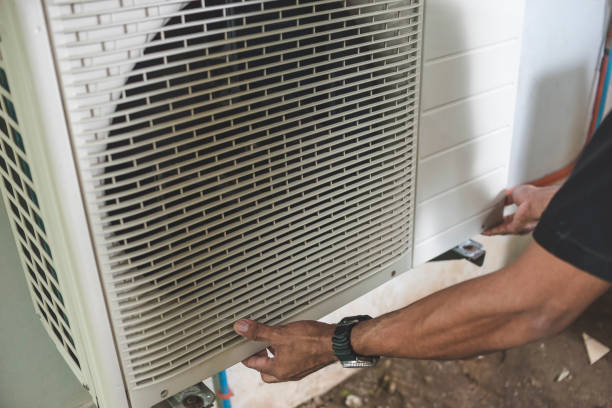
Trick #2: Clean the Condenser Coils for Better Performance
Dirty condenser coils force your AC compressor to work harder, leading to premature compressor failure and reducing cooling system efficiency. Turn off the power, remove debris around the condenser, spray coils with a garden hose from inside out, apply coil cleaner foam for stubborn buildup, and straighten bent fins with a fin comb. Perform this maintenance quarterly during the cooling season to reduce pressure on the compressor motor and prevent overheating.
Trick #3: Tighten Refrigerant Connections to Stop Leaks
Small refrigerant leak issues at connection fittings rob your cooling system of efficiency. Spray connections with soapy water while the AC system runs to identify bubbles indicating leaks, then carefully tighten fittings using proper wrenches without overtightening. For more complex central AC repair needs involving major leaks, professional help ensures proper refrigerant handling and prevents further damage.
Trick #4: Install a Hard Start Kit for Weak Compressors
A hard start kit provides an extra electrical boost to help an aging compressor motor overcome starting resistance, extending the bad AC compressor’s life by several years for just $20-40. Locate the existing start capacitor, install the hard start kit’s additional capacitor in parallel following color-coded instructions, and secure components away from moving parts. This reduces strain on electrical components and prevents circuit breaker trips during hot days.
Trick #5: Replace the Compressor Clutch (For Car AC)
The compressor clutch in a car air conditioning system engages the compressor motor when you need cold air. Disconnect the battery, remove the serpentine belt, use a clutch removal tool to separate the worn clutch from the compressor shaft, install the new clutch with proper gap spacing (0.016-0.032 inches), and verify smooth engagement. This 2-3 hour repair costs $50-150 in parts versus $400-800 for professional replacement.
When DIY AC Compressor Repair Isn’t Enough
Understanding your limits prevents worsening problems and potentially dangerous situations. Call professional help for seized compressor motors (no internal mechanical repair possible), refrigerant contamination requiring specialized flushing equipment, complete system recharge (EPA certification legally required), warranty-covered repairs (DIY voids coverage), and complex electrical problems beyond simple capacitor replacement. For urgent situations requiring immediate attention, emergency HVAC repair services provide 24/7 assistance.
Residential HVAC services from certified technicians ensure proper diagnosis and legal refrigerant handling that protects both your system and the environment. Commercial HVAC service providers handle larger cooling systems with specialized requirements that exceed typical DIY capabilities.
Preventive Maintenance Tricks to Avoid Compressor Failure
The best AC compressor repair is prevention through consistent maintenance. Monthly tasks include changing air filters (restricted airflow freezes evaporator coils), clearing the condenser area (maintain 2-foot clearance), checking thermostat operation (avoid rapid cycling), listening during operation (catch unusual noises early), and verifying cold air output (weak cooling indicates developing problems).
Before each cooling season, test the start capacitor with a multimeter, inspect serpentine belts on the car’s AC systems, clean condenser coils thoroughly, check refrigerant line insulation, and verify circuit breaker operation. Professional AC maintenance annually catches problems DIY inspection might miss, testing refrigerant levels, and inspecting internal components to prevent major problem development.
Smart operation extends compressor longevity: set thermostats to reasonable temperatures (68-72°F), avoid frequent on/off cycling, use programmable thermostats for efficiency, run the car AC compressor monthly, even in winter for lubrication, and address strange noises immediately. Heating maintenance during the off-season keeps your complete HVAC system ready year-round.
Understanding Repair Costs vs. DIY Savings
Knowing potential savings helps justify DIY AC compressor repair efforts versus professional service. Capacitor replacement costs $15-30 DIY versus $150-300 professionally (savings: $120-270), condenser coil cleaning runs $10-20 DIY versus $100-200 professionally (savings: $80-180), and compressor clutch replacement costs $50-150 DIY versus $400-800 professionally (savings: $250-650). These substantial savings make learning basic repair techniques worthwhile for homeowners.
Consider replacing rather than repairing if your air conditioner is more than 12 years old, repair costs exceed 50% of the new compressor price, multiple components fail simultaneously, you’re using outdated R-22 refrigerant, or energy bills indicate poor efficiency. Understanding when to replace HVAC systems helps you make informed financial decisions.
Review HVAC replacement cost information to compare repair investments against modern high-efficiency systems that pay for themselves through energy savings within 5-7 years.
In Summary: Master DIY AC Compressor Repair with Confidence
These practical DIY tips and tricks empower you to handle common AC compressor repair challenges, saving hundreds in labor costs while maintaining your cooling system effectively. From diagnosing problems through sound and pressure tests to replacing start capacitors and cleaning condenser coils, you now have actionable techniques for extending your AC compressor’s life. For comprehensive guidance on how to repair central AC systems, additional resources provide step-by-step procedures for various repair scenarios.
Remember that preventative maintenance prevents most compressor failure scenarios, and knowing when professional expertise becomes necessary protects your investment in your air conditioning system. According to Consumer Reports’ central AC maintenance guide, combining DIY maintenance with annual professional service maximizes system lifespan and efficiency while minimizing unexpected breakdowns during hot days.
Ready to ensure your AC compressor receives professional care when DIY isn’t enough?
Contact the certified technicians at Callidus Air for expert diagnostics, complex repairs, and comprehensive maintenance programs.
Our team handles refrigerant work legally, diagnoses electrical issues safely, and provides honest recommendations about repair versus replacement. Don’t wait until a hot day leaves you without cold air—schedule your consultation today and discover how combining DIY maintenance with professional expertise maximizes your air conditioning system’s performance and lifespan.
Frequently Asked Questions About AC Compressor Repair
Can I replace just the compressor clutch instead of the entire compressor?
Yes, replacing only the compressor clutch is a cost-effective DIY repair for car air conditioning when the clutch fails, but the compressor motor functions properly. This repair costs $50-150 in parts and takes 2-3 hours, versus $400-800 for a professional complete compressor replacement. However, if your car’s AC also has low refrigerant or the compressor makes grinding noises, the entire compressor likely needs replacement since internal damage affects the entire system’s refrigerant circulation and cooling capacity.
How do I know if my start capacitor is bad?
A bad AC compressor start capacitor shows telltale signs: the compressor motor hums but won’t start, your circuit breaker trips when the air conditioner attempts operation, or the system works intermittently. Test the capacitor with a multimeter set to capacitance mode—readings outside the range marked on the capacitor (usually within 6% of rated microfarads) indicate failure. Visual signs include a bulging or leaking capacitor body, making this the most common cause of “dead” AC units and the easiest DIY fix at just $15-30 for replacement.
What’s the best way to prevent AC compressor failure?
The most effective prevention combines monthly filter changes, quarterly condenser coil cleaning, and annual professional maintenance to catch refrigerant leak problems and electrical issues early. Generally speaking, restricted airflow causes most compressor issues—dirty filters freeze evaporator coils, while dirty condenser coils cause overheating and premature compressor failure. Keep vegetation cleared from outdoor units, run systems at reasonable temperatures, and address unusual noises immediately before severe damage occurs, requiring expensive repairs or complete replacement.
Can I add refrigerant myself to fix my AC compressor?
While refrigerant recharge kits exist, this DIY approach only masks the underlying major problem since air conditioning systems are sealed and shouldn’t lose refrigerant under normal operation. Low levels indicate a refrigerant leak that recurs after recharging, and EPA regulations require certification for purchasing most refrigerants with substantial penalties for improper handling. The proper repair process involves locating and fixing leaks, evacuating the system with a vacuum pump to remove moisture, and precisely recharging with the refrigerant needed for your specific AC unit through certified professionals.
When should I replace my AC compressor instead of repairing it?
Replace your AC compressor when the compressor motor is seized (won’t spin manually with power off), shows no electrical continuity indicating internal failure, or costs more than 50% of a new compressor while your system is more than 10 years old. Severe damage with metal shavings in refrigerant oil requires a new compressor and a complete system flush to prevent further damage. However, external problems like a faulty start capacitor, compressor clutch issues, or refrigerant leak warrant repair as the only option that makes financial sense for newer systems still within their expected operational lifespan.